The Amana Smart Thermostat streamlines HVAC control‚ offering energy efficiency and smart features. This guide provides a comprehensive overview‚ designed to simplify installation and setup‚ featuring tips for a successful setup.
1.1 Overview of the Amana Smart Thermostat
The Amana Smart Thermostat is a cutting-edge‚ low-voltage device designed for efficient HVAC control. It offers advanced features like WiFi connectivity‚ voice command via Amazon Alexa‚ and remote management through the Amana Home mobile app. Built for compatibility with various systems‚ it ensures precise temperature regulation‚ energy savings‚ and seamless smart home integration‚ making it a versatile solution for modern households.
1.2 Importance of Proper Installation
Proper installation of the Amana Smart Thermostat ensures optimal performance‚ safety‚ and efficiency. Incorrect wiring or setup can damage the system or void the warranty. Following the manual guarantees correct functionality‚ including WiFi connectivity and smart features. Always turn off power to HVAC systems before starting‚ and ensure all wiring meets local electrical codes to avoid hazards and maintain the 10-Year Limited Warranty eligibility.
System Requirements and Compatibility
The Amana Smart Thermostat is designed for low voltage HVAC systems. Ensure compatibility with your system before installation to guarantee proper functionality and efficiency.
2.1 Checking Compatibility with HVAC Systems
Ensure your HVAC system is compatible with the Amana Smart Thermostat. It works with low voltage systems‚ including gas‚ oil‚ electric furnaces‚ and heat pumps. Verify system type and voltage requirements before installation to avoid issues. Compatibility checks ensure proper functionality and efficiency‚ preventing potential installation problems down the line.
2.2 Understanding Low Voltage Applications
The Amana Smart Thermostat is designed for low voltage HVAC systems‚ ensuring compatibility with most modern setups. Verify your system’s voltage and type before installation to confirm compatibility. Low voltage applications require careful wiring and setup to maintain efficiency and safety. Always turn off power to HVAC components during installation to prevent damage or injury‚ ensuring a secure and proper connection.
Pre-Installation Checklist
Verify system compatibility‚ turn off power‚ gather tools‚ and prepare materials. Ensure a safe environment and review all safety precautions before starting the installation process.
3.1 Gathering Necessary Tools and Materials
To ensure a smooth installation‚ gather essential tools and materials. These include a screwdriver‚ pliers‚ voltage tester‚ wire strippers‚ and a level. Additionally‚ collect the thermostat unit‚ mounting bracket‚ wiring harness‚ and any adapters. Refer to the installation guide for specific requirements. Ensure all safety gear‚ like gloves and goggles‚ is on hand to prevent accidents during the process.
3.2 Ensuring Safety Precautions
Before starting‚ turn off power to the HVAC system at the circuit breaker. Verify the outdoor temperature is above 50°F to avoid equipment damage. Wear protective gear‚ including gloves and safety goggles. Ensure all wiring is disconnected before handling components. Follow local electrical codes and manufacturer guidelines to prevent accidents and ensure a safe installation process.
Step-by-Step Installation Process
Begin by turning off power to the HVAC system. Remove the old thermostat‚ then mount the new Amana Smart Thermostat. Connect wires carefully‚ following the wiring diagram for accuracy. Complete the setup by configuring settings and enabling smart features for seamless operation.
4.1 Turning Off Power to HVAC Systems
Before starting the installation‚ ensure the HVAC system is powered off. Locate the circuit breaker or switch controlling the system and turn it off. Verify that all components‚ including the furnace and air conditioner‚ are completely powered down. This essential step ensures safety during the installation process and prevents any accidental startups.
Never attempt to install or wire the thermostat while the system is energized. This precaution protects both the equipment and the installer from potential electrical hazards. Once the power is confirmed off‚ proceed with removing the old thermostat and preparing for the new installation.
4.2 Removing Old Thermostat
To remove the old thermostat‚ start by gently pulling it away from the wall while being careful not to damage the wires; Disconnect the wires from the old thermostat by grasping them firmly at the base. Avoid touching live wires to prevent electrical shock. Once the wires are free‚ carefully pull the thermostat away from the mounting bracket and set it aside. This step ensures a clean slate for the new installation.
Caution: Handle wires carefully to avoid damage and ensure they remain securely connected to the system.
4.3 Mounting the New Thermostat
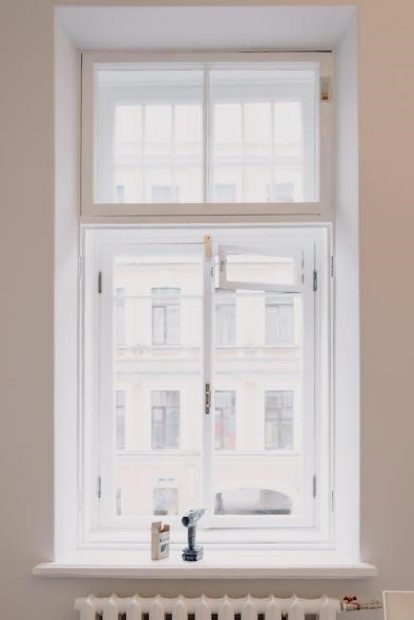
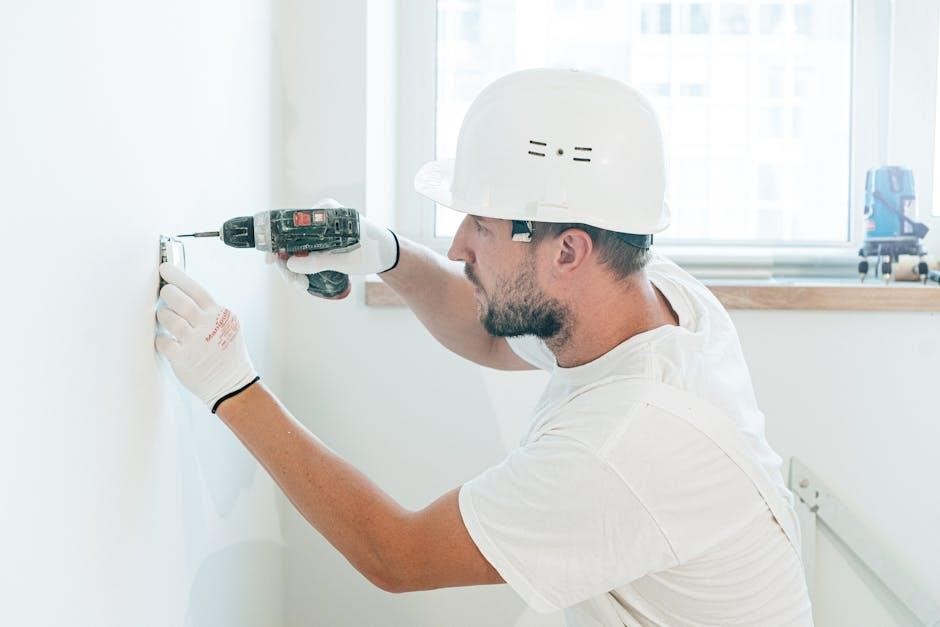
Mount the new Amana Smart Thermostat by aligning it with the wall and using the provided mounting bracket. Ensure the thermostat is placed 4 to 5 feet above the floor in an area with average temperature and good air circulation. Secure the device firmly to the wall to prevent movement. This step ensures accurate temperature sensing and proper functionality.
4.4 Connecting Wires and Harnesses
Connect the wires to the corresponding terminals on the Amana Smart Thermostat‚ ensuring proper alignment with the wiring harness. Use Amana’s remote thermostat wiring harness kit (Part: PWHK01C) for compatibility. Insert the jumper wires into the appropriate slots to complete the circuit. Verify all connections are secure to prevent malfunctions. Proper wiring ensures accurate temperature control and seamless smart functionality.
Post-Installation Setup
After installation‚ configure thermostat settings and enable Wi-Fi for smart features. Use the Amana Home mobile app to set up remote control and voice commands seamlessly.
5.1 Configuring Thermostat Settings
After installation‚ configure the thermostat by setting temperature preferences‚ scheduling‚ and adjusting energy-saving modes. Use the touchscreen interface to customize settings‚ ensuring optimal performance and efficiency. Refer to the manual for advanced options like geofencing and smart recovery. Proper configuration ensures seamless operation and maximizes energy savings‚ tailored to your home’s needs.
5.2 Enabling Wi-Fi and Smart Features
To enable Wi-Fi‚ navigate to the thermostat’s network settings‚ select your home network‚ and enter the password. Once connected‚ link the thermostat to the Amana Home mobile app. This allows remote control and scheduling. For voice commands‚ link the thermostat to Amazon Alexa by logging into your Alexa account through the app‚ enabling voice control for temperature adjustments.
Wiring Diagrams and Connections
Ensure proper wiring connections for low-voltage systems. Refer to the wiring diagram for conventional setups and smart harness configurations to avoid installation errors and ensure functionality.
6.1 Conventional Wiring Setup
The Amana Smart Thermostat requires low-voltage wiring for conventional setups. Turn off power to HVAC systems before starting. Refer to the wiring diagram for proper connections‚ ensuring R‚ W‚ Y‚ G‚ and C terminals are correctly linked. Use jumper wires if needed for specific configurations. Ensure all connections are secure and comply with local electrical codes to avoid malfunctions and safety hazards.
6.2 Smart Wiring Harness Configuration
Use Amana’s remote thermostat wiring harness kit (Part: PWHK01C) for smart configurations. Insert jumpers as specified for compatibility with your HVAC system. Ensure proper connections to enable smart features like WiFi and voice control. Refer to the wiring diagram for precise terminal assignments. This setup ensures seamless integration with the Amana Home mobile app and Amazon Alexa for advanced functionality.
Safety Precautions and Best Practices
Always turn off power to HVAC systems before installation. Avoid energizing units when outdoor temperatures are below 50°F to prevent damage. Ensure proper wiring connections.
7.1 Electrical Safety Measures
Always turn off power to the HVAC system at the circuit breaker before starting installation. Verify the power is off using a voltage tester. Avoid energizing the system when outdoor temperatures are below 50°F to prevent damage. Ensure all wiring connections are secure and correct to maintain safety. Use Amana’s remote thermostat wiring harness kit (Part: PWHK01C) for proper connections. Never bypass safety precautions to avoid risks of electrical shock or equipment damage. Always follow local electrical codes and manufacturer guidelines for a safe installation process.
7.2 Avoiding Common Installation Mistakes
Common installation mistakes include incorrect wiring connections and not turning off power to the HVAC system. Ensure proper wire identification and secure connections to avoid malfunctions. Incorrect thermostat placement‚ such as near drafts or direct sunlight‚ can affect performance. Always use the correct tools and follow the manufacturer’s guidelines. Double-check compatibility with your HVAC system before starting. Properly configure the wiring harness to prevent errors. Mount the thermostat at the recommended height for accurate temperature sensing. Avoid rushing the process‚ as haste can lead to overlooked steps. Use the provided jumper wires correctly to ensure system functionality. Refer to the installation manual for specific instructions tailored to your model. Following these steps will help ensure a smooth and error-free installation process.

Integrating Smart Features
Enable Wi-Fi to unlock smart features‚ voice control via Amazon Alexa‚ and remote access through the Amana Home mobile app for seamless temperature management and scheduling.
8.1 Connecting to Amazon Alexa
To connect your Amana Smart Thermostat to Amazon Alexa‚ enable the Amana Smart Thermostat skill in the Alexa app. Link your accounts to authorize control‚ then discover devices. Use voice commands like “Alexa‚ set my living room to 72 degrees” for convenient temperature adjustments. Ensure your thermostat and Alexa device are on the same Wi-Fi network for seamless integration and control.
8.2 Setting Up the Amana Home Mobile App
Download and install the Amana Home mobile app from the App Store or Google Play. Create an account or log in if already registered. Enable Wi-Fi on your thermostat and follow in-app instructions to link it to your account. Once connected‚ the app allows remote temperature adjustments‚ scheduling‚ and monitoring multiple thermostats. Ensure your device is on the same network for proper functionality and control.
Troubleshooting Common Issues
Identify and resolve common issues like wiring problems or Wi-Fi connectivity failures. Refer to the manual for diagnostic steps and solutions to ensure optimal thermostat performance.
9.1 Diagnosing Wiring Problems
Wiring issues can prevent proper thermostat function. Check for loose connections‚ incorrect wire assignments‚ or damaged wires. Ensure the harness kit is correctly installed and all terminals match the manual. Verify power is off before inspecting. Use the Amana wiring diagram to confirm connections. If problems persist‚ consult the troubleshooting guide or contact support for assistance.
9.2 Resolving Wi-Fi Connectivity Issues
Ensure the thermostat is connected to the correct Wi-Fi network and SSID. Verify the Wi-Fi password is entered correctly. Restart the router and thermostat to refresh the connection. Move the thermostat closer to the router for better signal strength. Check for firmware updates in the Amana Home app. If issues persist‚ consult the user manual or contact Amana support for further assistance.

Warranty and Support Information
The Amana Smart Thermostat is backed by a 10-Year Limited Warranty‚ covering defects in materials and workmanship. Online registration is required within 60 days of installation for warranty activation. For support‚ contact Amana’s customer service or refer to the comprehensive resources available on their official website.
10.1 Understanding the 10-Year Limited Warranty
The Amana Smart Thermostat is protected by a 10-Year Limited Warranty‚ covering defects in materials and workmanship. Registration within 60 days of installation is required to activate the warranty. This coverage ensures peace of mind‚ with repairs or replacements provided for qualifying issues. The warranty is non-transferable and applies to the original purchaser. Full details and terms can be found on Amana’s official website.
10.2 Registering Your Thermostat Online
Online registration for your Amana Smart Thermostat is essential to activate the 10-Year Limited Warranty. Visit Amana’s official website‚ create an account‚ and provide details like model number and installation date. Registration must be completed within 60 days of installation to ensure warranty coverage. This process also grants access to exclusive features and support services. Follow the step-by-step instructions provided on the website for a seamless experience.