Welcome to the Crosley Turntable Instruction Manual! This guide helps you understand and operate your Crosley turntable effectively, ensuring optimal performance and longevity of your device.
Overview of the Crosley Turntable
The Crosley Turntable is a high-quality record player designed for optimal sound reproduction and durability. Available in various models like the Cruiser Deluxe, Voyager, and Cruiser Plus, these turntables feature three-speed playback (33 1/3, 45, and 78 RPM), USB connectivity, and built-in speakers. Equipped with a ceramic cartridge, adjustable tonearm, and slip mat, they ensure smooth operation. Popular models include the CR8005D, CR6019, and CR6007A, offering a blend of portability, style, and functionality. These devices cater to both casual listeners and audiophiles, combining classic design with modern technology for an enhanced vinyl experience.
Importance of Reading the Instruction Manual
Reading the Crosley Turntable instruction manual is essential for maximizing performance and ensuring longevity. It provides crucial guidelines for assembly, operation, and maintenance, helping users avoid common issues. The manual details safety precautions, such as avoiding water exposure and proper handling of components. Additionally, it outlines troubleshooting steps for playback problems, speed variations, and audio distortion. By following the manual, users can optimize their listening experience and prevent potential damage to the turntable or records. Proper setup, like installing the platter and adjusting the tonearm, is also covered.

Safety Guidelines
Always follow safety guidelines to ensure safe operation. Avoid water exposure, use only recommended accessories, and place the turntable on a stable, flat surface away from heat sources.
General Safety Precautions
To ensure safe operation, follow these guidelines:
- Avoid exposure to water or moisture to prevent damage or electrical hazards.
- Place the turntable on a stable, flat surface away from direct sunlight and heat sources.
- Use only the recommended power source and avoid overloading electrical outlets.
- Handle records and the tonearm gently to prevent scratches or damage.
Always unplug the turntable when not in use or during maintenance.
Warnings and Cautions
Adhere to these critical guidelines to prevent damage and ensure safe operation:
- Never expose the turntable to water or excessive humidity, as this can cause electrical or mechanical failure.
- Avoid touching the stylus or needle, as oils from your skin can degrade sound quality and damage the cartridge.
- Do not operate the turntable near open flames or sparks, as this may pose a fire hazard.
- Keep the turntable out of reach of children to avoid accidental damage or injury.
- Use only the recommended voltage and power source to prevent overheating or electrical issues.
Failure to follow these warnings may result in permanent damage to the device or void the warranty.

Unboxing and Inventory
Unpack your Crosley turntable carefully and verify all components are included. Ensure the package contains the turntable, power adapter, RCA cables, slip mat, and instruction manual.
- Turntable unit
- AC power adapter
- RCA audio cables
- Slip mat
- Instruction manual
Contact customer service if any parts are missing or damaged.
Components Included in the Package
When you unbox your Crosley turntable, you should find the following components to ensure proper setup and operation:
- Turntable unit
- AC power adapter
- RCA audio cables
- Slip mat
- Instruction manual
- 45 RPM adapter (for compatible models)
- Tonearm counterweight
Ensure all items are present and undamaged. If any parts are missing or damaged, contact Crosley customer service immediately for assistance.
Checking for Missing or Damaged Parts
Before assembling and using your Crosley turntable, carefully inspect all components for completeness and condition:
- Compare the items with the list in the manual to ensure no parts are missing.
- Examine the turntable, tonearm, and accessories for visible damage or defects.
- If any parts are missing or damaged, contact Crosley customer service at 1-888-CROSLEY for assistance.
Do not attempt to operate the turntable if parts are missing or damaged, as this may cause further issues. Keep this manual handy for future reference.
Assembly and Setup
Begin by carefully unpacking and organizing all components. Follow the manual’s step-by-step guide to install the turntable platter, drive belt, and tonearm. Ensure all parts are properly aligned and securely fastened. Refer to the provided diagrams for accurate assembly. If unsure, consult the troubleshooting section or contact Crosley support for assistance.
Installing the Turntable Platter and Drive Belt
To install the turntable platter, place it gently onto the center spindle, ensuring it aligns perfectly. Next, locate the drive belt and loop it around the motor pulley and the platter’s rim. Make sure the belt is properly seated and not twisted. Once installed, check the platter’s rotation to ensure smooth, even movement. If the platter wobbles or the belt slips, adjust the alignment and resecure the belt. Refer to the manual for detailed diagrams or troubleshooting tips if needed.
Adjusting the Tonearm Counterweight
Locate the tonearm counterweight on the rear of the tonearm. Slide it onto the shaft, ensuring the numbered side faces forward. Twist it gently to secure. Adjust the counterweight until the tonearm balances evenly without tilting. Proper stylus pressure is crucial for clear playback and record protection. If the arm feels too heavy or light, fine-tune the counterweight position. Refer to the manual for specific weight recommendations and ensure accurate calibration for optimal performance and sound quality.
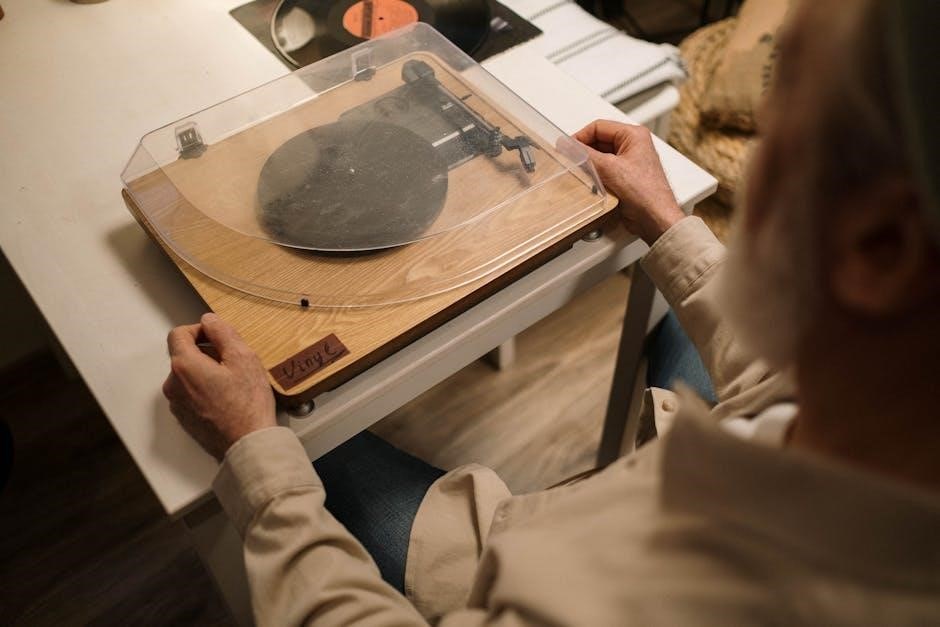
Placing the Slip Mat
Gently remove the slip mat from its packaging and place it centered on the turntable platter. Ensure the mat is smooth and evenly spread to avoid air bubbles. The slip mat protects your records from scratches and provides a stable surface for playback. Always handle the mat by the edges to prevent oils from your skin damaging the material. After placing, your turntable is ready for record playback. Keep the slip mat clean and dry to maintain optimal performance and record care.
Operating the Turntable
Power on the device, select the desired mode, and choose the appropriate speed for your record. Place the record on the platter and use the cue lever to gently lower the tonearm, ensuring smooth playback and proper record care.
Selecting the Correct Speed (33 1/3, 45, or 78 RPM)
To ensure optimal playback, select the correct speed based on your record’s format. For standard LPs, use 33 1/3 RPM. For singles and EPs, choose 45 RPM, and for vintage 78s, select 78 RPM. Locate the speed control switch, typically found on the turntable’s top or front panel, and adjust it to the desired setting. You may hear a slight clicking sound as the motor adjusts. For 45 RPM records, place the included adapter on the spindle before playing. Proper speed selection ensures accurate playback and prevents damage to your records or the turntable.
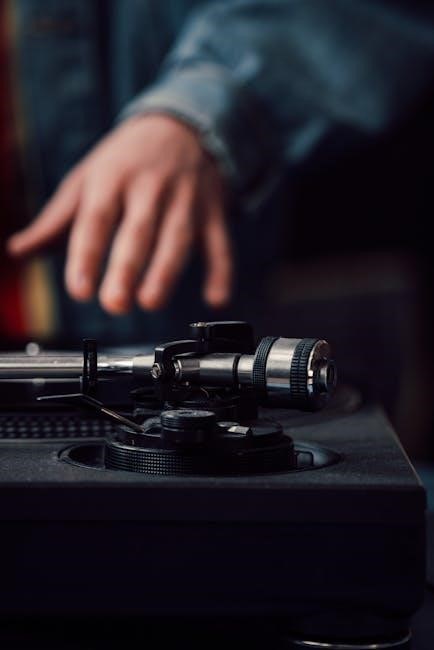
Using the Cue Lever for Record Playback
The cue lever allows precise control over the tonearm, preventing accidental needle drops and record damage. To use it, gently lift the cue lever upward to raise the tonearm. Once the record is placed on the platter, position the tonearm over the desired track and slowly lower it by releasing the cue lever. Ensure the lever is fully lowered for stable playback. After the record finishes, use the cue lever to lift the tonearm and return it to its rest position. This prevents wear on the stylus and records. Some models may have an automatic return feature.
Adjusting the Volume and Tone Controls
Locate the volume and tone controls, typically found on the front panel of your Crosley turntable. Use the volume knob to adjust the output level, ensuring it is set appropriately for your connected speakers or amplifier. The tone controls, often including bass and treble adjustments, allow you to customize the audio output to your preference. Gently rotate the knobs while the record is playing to achieve the desired sound quality. Be cautious not to over-boost or cut frequencies excessively, as this may distort the audio. For precise adjustments, refer to the specific instructions in your Crosley turntable’s manual.

Maintenance and Care
Regular maintenance ensures your Crosley turntable performs optimally and lasts longer. Clean the turntable and records frequently, replace the needle as needed, and check the drive belt for wear.
Cleaning the Turntable and Records
Cleaning is essential for maintaining your Crosley turntable’s performance and longevity. Use a soft, dry cloth to wipe the turntable platter and a slightly damp cloth for records. Avoid harsh chemicals or liquids, as they may damage the components. For records, gently remove dust with a carbon fiber brush before playback. Regular cleaning prevents dust buildup and static, ensuring clear and consistent sound quality. Always handle records by the edges to avoid fingerprints and oils from your skin.
Replacing the Needle and Checking Stylus Pressure
To replace the needle, gently pull it straight off the cartridge. Install the new needle, ensuring it clicks securely into place. For stylus pressure, locate the counterweight on the tonearm and adjust it by sliding it along the arm until the recommended pressure (usually 3.5–5g) is achieved. Use the balance scale provided or a digital stylus force gauge for accuracy. Proper stylus pressure ensures even record wear and clear audio reproduction. Always handle the stylus carefully to avoid damage.
Inspecting and Replacing the Drive Belt
Regularly inspect the drive belt for cracks, stretching, or damage. If worn, replace it immediately to maintain proper turntable performance. To replace, remove the platter by lifting it straight off. Install the new belt, ensuring it fits snugly around the motor pulley and the platter’s underside. Adjust the belt tension gently for even alignment. Once replaced, test the turntable at all speeds (33 1/3, 45, 78 RPM) to ensure smooth operation. A faulty belt can cause speed variations or playback issues, so prompt replacement is essential for optimal functionality.
Troubleshooting Common Issues
Identify and resolve common problems with your Crosley turntable by referring to this section. Address issues like playback problems, speed variations, or audio distortion for optimal performance.
Resolving Playback Problems
Experiencing issues with your Crosley turntable? Start by ensuring the record is clean and free of debris; Check if the needle is damaged or misaligned. Verify that the drive belt is properly installed and not worn out. If the turntable won’t spin, ensure it’s powered on and the correct speed is selected. For skipping records, adjust the tonearm counterweight or inspect the stylus for damage. Refer to the manual for detailed troubleshooting steps to restore smooth playback.
Addressing Speed Variations
If your Crosley turntable is experiencing speed variations, start by checking the drive belt for wear or misalignment. Ensure the speed control switch is set correctly for the record’s RPM (33 1/3, 45, or 78). Clean the turntable platter and motor area to remove dust or debris that may affect performance. If issues persist, inspect the motor for alignment or balance problems. Refer to the manual for specific adjustments or contact Crosley customer support for further assistance to restore consistent playback speed.
Fixing Audio Distortion or Hum
To address audio distortion or hum on your Crosley turntable, first check the needle for damage or misalignment. Replace it if necessary using the Crosley NP5 needle. Ensure all RCA connections are secure and free from corrosion. Grounding issues can cause hum, so verify the turntable’s grounding wire is properly connected. Clean the records and stylus regularly to remove dust and debris. If distortion persists, adjust the tonearm counterweight and anti-skate settings. For persistent hum, consult the manual or contact Crosley support for troubleshooting guidance.
Warranty and Customer Support
Your Crosley turntable is backed by a limited warranty covering manufacturing defects. For inquiries or issues, contact Crosley Customer Service at 1-888-CROSLEY or visit www.crosleyradio.com.
Understanding the Warranty Coverage
Your Crosley turntable is protected by a limited warranty that covers manufacturing defects for a specified period. The warranty duration and terms vary by model and region, so refer to your device’s manual or packaging for details. Coverage typically excludes damage caused by misuse, modifications, or normal wear and tear. For clarification or claims, contact Crosley Customer Service at 1-888-CROSLEY or visit their official website. Proper registration may be required to activate warranty benefits.
Contacting Crosley Customer Service
For assistance with your Crosley turntable, contact customer service at 1-888-CROSLEY (Monday ⏤ Friday, 8 a.m; ⏤ 6 p.m., EST). Visit their official website at www.crosleyradio.com for support resources. Whether you have questions about warranty, missing parts, or troubleshooting, their team is ready to help. Ensure to have your model number and purchase details handy for efficient service. This support ensures your Crosley turntable provides years of reliable performance.