A proper shirt placement guide ensures designs are visually appealing and functional. This guide covers standard print locations, size guidelines, and tips for various shirt types to help achieve professional results.
1.1 Importance of Proper Design Placement
Proper design placement on shirts is crucial for both aesthetic and functional reasons. It ensures designs are visible, balanced, and complement the garment’s structure. Incorrect placement can make a design look awkward or unprofessional, while correct placement enhances brand visibility and wearer comfort. Understanding placement principles helps create cohesive, visually appealing designs that align with the shirt’s intended use, whether for casual wear or professional branding.
1.2 Overview of Standard Print Locations
Standard print locations are key to effective shirt design. Common areas include center chest, left chest, full front, upper back, and sleeves. These placements ensure designs are visible and balanced. Understanding these locations helps create professional, visually appealing garments.

Standard T-Shirt Design Placement Locations
Standard locations include center chest, left chest, full front, upper back, and sleeves. These placements ensure designs are visible, balanced, and professionally positioned for maximum appeal.
2.1 Center Chest Placement
Center chest placement is ideal for logos or graphics, ensuring immediate visibility. It’s centered 2-3 inches below the collar, aligning with the shirt’s symmetry. This placement is perfect for branding, as it draws attention without overwhelming the design. Measurements vary slightly, but keeping the design proportional to the chest area ensures a balanced look. This placement works well for both casual and professional settings, making it a versatile choice for various designs.
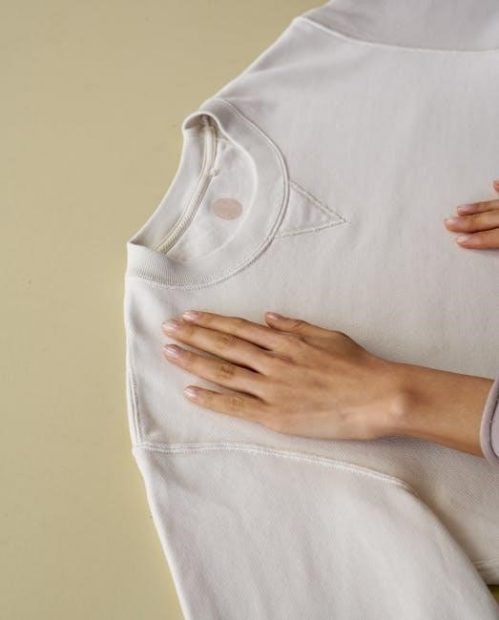
2.2 Left Chest Placement

Left chest placement is a popular choice for logos or small graphics, positioned 5-7cm below the collar and aligned with the left armpit. This subtle yet professional location enhances brand visibility without overwhelming the shirt. It’s ideal for minimalistic designs and works well on various shirt types, including T-shirts, polo shirts, and jackets. The design should be proportional to the chest area for a balanced look, making it suitable for both casual and formal apparel.
2.3 Full Front Placement
Full front placement covers the entire chest area, offering maximum visibility for bold designs or detailed graphics. It centers the design between the collar and waistline, ensuring symmetry. This placement is ideal for vibrant artwork, promotional messages, or large logos. The size should be proportionate to the shirt, typically 12 inches wide and 10 inches tall. Proper alignment is crucial to avoid overwhelming the garment, making it perfect for statement pieces while maintaining aesthetic balance.
2.4 Upper Back Placement
Upper back placement positions designs across the shoulder blades, ideal for work uniforms or casual styles. It typically spans 12 inches wide and 6 inches tall, centered and symmetric. This placement is practical for security or staff shirts, blending functionality with style. Ensure the design aligns with the shoulder seams for a balanced look, avoiding overcrowding. It’s a subtle yet effective way to add branding or artwork without dominating the garment’s front.
2.5 Sleeve Placement
Sleeve placement adds a modern touch to designs, typically limited to smaller sizes due to space constraints. Standard sleeve designs are around 4×3.5 inches, though all-over prints can go up to 20×12 inches. Positioning varies by shirt type and size, so measuring before designing is crucial. For a clean look, keep designs centered and proportionate to the sleeve length. This placement is ideal for subtle branding or complementary graphics, enhancing the garment without overwhelming it. Always verify measurements for precise results.
Design Size and Measurement Guidelines
Proper sizing and alignment ensure a polished look. Measure 3 inches below the neckline and 2 inches from the armpit for center chest designs. Standard sizes range from 10-12 inches wide for front prints. Use a ruler for accuracy.
3.1 Standard Size Ranges for Common Placements
For center chest designs, a standard size range is 10-12 inches wide, ensuring visibility without overwhelming the shirt. Left chest placements are smaller, typically 3-4 inches wide, maintaining a professional look. Full front designs can be larger, up to 16 inches, but should align with the shirt’s proportions. Sleeve designs are usually 4×3.5 inches, fitting neatly without stretching. Proper sizing enhances both aesthetics and functionality, ensuring designs are balanced and visually appealing. Always measure and adjust according to the shirt type and intended use.
3.2 How to Measure for Accurate Placement
Accurate placement starts with precise measurements. Use a ruler to mark the center chest, typically 2-3 inches below the neckline. For sleeves, measure 2-4 inches from the shoulder seam. Align designs symmetrically, ensuring they are centered and proportional to the shirt. Printable templates or heat press tools can aid in achieving perfect positioning. Double-checking measurements ensures designs are neither too high nor too low, maintaining a professional and polished appearance.

Specialized Shirt Types and Placement
Specialized shirts like V-necks, hoodies, and jackets require tailored placement strategies. V-necks need designs aligned with the lowest point of the V, while hoodies often feature designs on the upper back. Polo shirts typically have smaller logos placed 3-4 inches below the collar on the left chest, ensuring a balanced look without overwhelming the garment. Jackets may have designs on the back or sleeves, depending on the desired aesthetic.
4.1 V-Neck and Hoodie Placement Tips
For V-neck shirts, align designs with the lowest point of the V to maintain balance. Hoodies often feature designs on the upper back, centered across the shoulder blades. V-neck designs should be slightly smaller than standard chest prints to avoid overwhelming the garment. Hoodie designs can also be placed on the left chest, 3-4 inches below the collar, for a subtle look. Ensure designs are proportional to the shirt size and fabric type for a polished appearance.
4.2 Placement for Polo Shirts and Jackets
For Polo shirts, designs are typically placed 7.5 to 9 inches from the left shoulder seam and 4 to 6 inches from the center, aligning with the collar meeting the shoulder seam. Jackets often feature designs on the back, centered 6 to 9 inches from the collar seam. Ensure designs are proportional to the garment size and avoid overcrowding. Smaller logos on the chest and larger designs on the back work well for jackets, maintaining both functionality and style.
Tools and Resources for Perfect Placement
Utilize printable guides and design software to ensure accurate placement. These tools help optimize image resolution and positioning for professional-looking custom shirts.
5;1 Printable T-Shirt Placement Guides
Printable guides provide precise measurements for design placement, ensuring accurate positioning. They outline standard locations like center chest, sleeves, and upper back, with size recommendations. These tools help avoid errors and ensure professional results. Use them to measure distances from collars, seams, and armpits for balanced designs; Ideal for both beginners and pros, printable guides offer a practical solution for achieving flawless placement across various shirt types and designs.
5.2 Design Software for Visualizing Placement
Design software offers advanced tools to visualize and optimize placement on shirts. Programs like Adobe Illustrator and Canva provide drag-and-drop interfaces, layers, and resizing options. These tools allow precise positioning, enabling users to preview designs on virtual shirt templates. Features like real-time previews and measurement guides ensure accuracy. They also support various file formats for seamless printing. Using design software helps minimize errors and achieve professional-looking results, making it essential for creators aiming for flawless placement and high-quality garments.
Best Practices for Logo and Design Positioning
Balance aesthetics and functionality by centering designs, ensuring proper proportions, and avoiding overwhelming layouts. Keep logos legible and aligned with natural sightlines for maximum visual impact.
6.1 Balancing Aesthetics and Functionality
Balancing aesthetics and functionality ensures designs are visually appealing while maintaining comfort and practicality. Center chest placements are ideal for logos, as they are symmetrical and professional. Avoid overcrowding or placing designs too close to seams or armpits, as this can disrupt the shirt’s functionality. Ensure designs are proportional to the garment size and align with natural sightlines for a polished look. This balance enhances both the visual impact and wearability of the shirt.
6.2 Avoiding Common Placement Mistakes
Common mistakes include designs that are too large or positioned too low, making the shirt look unbalanced. Avoid placing graphics near seams, collars, or armpits, as this can distort the design. Ensure measurements are precise, with designs centered and proportionate to the shirt size. Overcrowding the front or back can overwhelm the garment, so maintain a clean layout. Proper alignment and spacing are key to achieving a professional and visually appealing result.
Proper shirt placement enhances both aesthetic and functional appeal. Always measure accurately, balance designs, and consider garment type for a polished look that stands out.
7.1 Recap of Key Placement Strategies
Effective shirt placement involves balancing aesthetics and functionality. Center chest designs are ideal for branding, while left chest placements offer a subtle, professional look. Full front designs make a bold statement, but ensure proportions fit the garment. Upper back placements are great for larger graphics, and sleeve designs should be compact. Measure accurately, consider garment type, and use tools like printable guides or design software for precision. Always align designs with seams or natural lines for a polished finish.
7.2 Encouragement for Experimentation
Don’t be afraid to explore beyond standard placements! Experimenting with unique design positions, like sleeves or upper back, can create standout garments. Use tools like design software or printable guides to test ideas. Balance creativity with practicality to ensure designs remain visually appealing. Every experiment, whether successful or not, offers valuable insights, helping refine your approach and push creative boundaries in custom apparel design.