Importance of Proper Threading
Proper threading ensures smooth machine operation, prevents thread breakage, and achieves consistent stitches. Correct thread guide alignment is crucial for maintaining tension and preventing tangles or uneven stitching, ensuring professional-grade results.
- Smooth operation and fabric flow during sewing.
- Prevents common issues like thread nests or breakage.
- Ensures even thread tension for perfect stitches.
- Thread guides direct thread correctly, avoiding misalignment.
Role of Thread Guides in Sewing Machines
Thread guides play a vital role in directing the thread from the spool to the needle, ensuring it follows the correct path. These small but essential components maintain proper thread tension and alignment, preventing tangles and uneven stitching. By keeping the thread in place, they facilitate smooth fabric flow and consistent stitch formation. Properly positioned thread guides are crucial for both upper and lower thread pathways, ensuring synchronized operation. Different types of thread guides, such as fixed or adjustable ones, cater to various sewing machine models and thread types. Their precise alignment is key to avoiding common issues like thread breakage or misalignment. Regular maintenance and correct usage of thread guides ensure optimal sewing performance and longevity of the machine. They are indispensable for achieving professional-grade results in every sewing project.
Consequences of Improper Threading
Improper threading can lead to a variety of frustrating issues that disrupt the sewing process. Common problems include thread breakage, uneven stitching, and fabric jams. Misaligned or loose threads often result in tangled nests beneath the fabric, causing machine malfunction. Additionally, improper threading can lead to inconsistent tension, creating loose or puckered seams. In severe cases, it may damage the sewing machine’s internal components, such as the bobbin case or needle. Incorrectly threaded machines may also produce audible noises or vibrations, indicating improper function. Such issues can ruin sewing projects, wasting time and materials. To avoid these complications, it is essential to follow proper threading techniques and ensure all thread guides are correctly aligned. Proper threading is the foundation of smooth, efficient, and high-quality sewing. Neglecting this step can lead to costly repairs and project failures. Always double-check threading before starting a new seam.
Step-by-Step Guide to Threading Your Sewing Machine
Learn to thread your sewing machine correctly with a clear, step-by-step process. Start by winding the bobbin, then thread the upper and lower threads through the guides, ensuring proper tension for smooth stitching.
Preparing the Sewing Machine for Threading
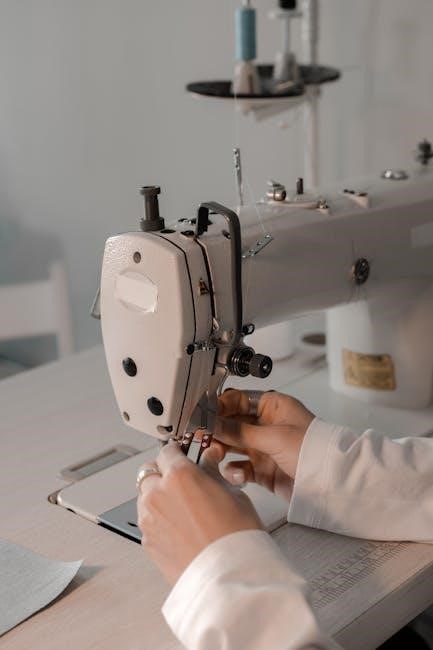
Before threading, ensure the sewing machine is turned off and unplugged for safety. Remove any remaining fabric or threads from the machine. Raise the presser foot to release tension and access the threading path. Clean the machine to remove lint or debris that could interfere with threading. Locate the spool pin and thread guides, ensuring they are free from obstructions. If using a bobbin, wind it and insert it into the bobbin case according to the machine’s instructions. Always refer to your sewing machine manual for specific preparation steps, as different models may vary. Proper preparation ensures a smooth threading process and prevents common issues like thread breakage or uneven tension.
Threading the Upper Thread
To thread the upper thread, begin by placing the spool on the spool pin. Gently pull the thread to remove any twists. Guide the thread through the first thread guide, usually located near the spool pin. Next, pass the thread through the tension discs, ensuring it is seated properly. Continue threading through each subsequent guide, following the machine’s path. Use the take-up lever to help direct the thread. Finally, insert the thread through the needle’s eye. Pull a small amount of thread to ensure it is not loose. Adjust the tension dial if necessary to achieve the correct tension. Always refer to your machine’s manual for specific threading paths, as they may vary. Proper threading of the upper thread is essential for even stitches and smooth sewing operation. Ensure the thread is not tangled or twisted before proceeding.
Threading the Lower Thread
Threading the lower thread involves correctly winding and inserting the bobbin. Start by winding the bobbin evenly, ensuring the thread is tight but not overly taut. Once wound, place the bobbin into the bobbin case, making sure it fits securely. Guide the thread through the bobbin case’s slot, leaving a small tail. Insert the bobbin case into the machine’s bobbin area, usually located beneath the needle plate. Pull the thread gently to ensure it is seated properly. Use the thread guide on the bobbin case to direct the thread correctly. Finally, close the bobbin cover to secure it in place. Properly threading the lower thread ensures that the bobbin case rotates smoothly and forms consistent stitches. Always ensure the bobbin is correctly seated to avoid issues during sewing. If the lower thread is not properly threaded, it can lead to uneven stitching or machine malfunction.
Best Practices for Threading
Following best practices ensures smooth threading and optimal sewing machine performance. Always use high-quality thread suitable for your fabric and machine. Before threading, clean the machine and thread guides to remove lint and debris. Ensure the machine is turned off and unplugged for safety. Use the correct thread path as indicated in your machine’s manual, and avoid crossing or twisting the thread. Keep the thread taut but not overly tight to maintain proper tension. After threading, test the stitch quality on a scrap piece of fabric to ensure even stitches and adjust tension if necessary. Regularly inspect and replace worn-out thread guides to prevent misalignment. Store threads in a cool, dry place to maintain their quality. By adhering to these practices, you can minimize threading issues and achieve professional-grade results in your sewing projects.
Advanced Tips for Optimal Threading
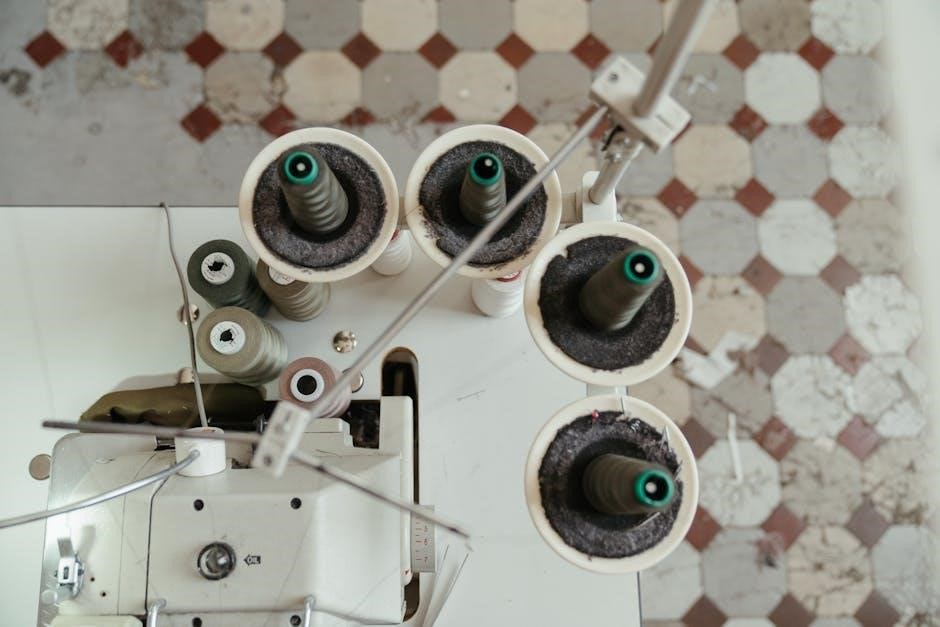
Optimize threading by using specialized threads for specific fabrics and adjusting tension dials for perfect stitch balance. Regularly clean thread guides and ensure they are free from lint buildup for smooth operation.
Choosing the Right Thread for Your Project
Selecting the appropriate thread is essential for achieving professional results. Consider the fabric type, project purpose, and thread weight. Cotton threads are ideal for general sewing, while polyester is more durable and suitable for heavy-duty projects. Silk or wool threads are best for delicate or specialty fabrics. Always match the thread color to your fabric for a seamless look. Check your sewing machine manual to ensure compatibility, as some machines may have specific thread recommendations. Using high-quality threads from reputable brands like Mettler, Isacord, or Aurifil can enhance stitch quality and reduce lint buildup. Proper thread selection ensures smooth operation and prevents issues like thread breakage or uneven tension.
Adjusting Thread Tension for Perfect Stitches
Accurate thread tension is vital for achieving uniform stitches. Start by ensuring the thread is correctly threaded through all guides. Use high-quality threads from brands like Mettler or Aurifil for consistent results. Adjust the tension dials based on fabric type: tighter for heavier fabrics, looser for delicate ones. Check the bobbin tension separately, as it affects the underside stitches. Consult your sewing machine manual for specific guidance, and consider using a tension gauge for precise measurements. Additionally, using the appropriate needle size for your fabric type can help maintain proper tension. Regularly clean your machine to prevent lint buildup, which can disrupt thread flow. Test tension settings on scrap fabric before sewing actual projects to ensure perfect, professional-looking stitches.
Maintaining Thread Guides for Smooth Operation
Regular maintenance of thread guides ensures optimal performance and prevents threading issues. Clean guides frequently with a small brush to remove lint and debris. Inspect guides for wear or damage; replace them if necessary. Properly position thread guides according to your machine’s manual to ensure smooth thread flow. Lubricate moving parts periodically to avoid friction. Use a high-quality thread stand to keep thread untangled and reduce strain on guides. When re-threading, always follow the machine’s path to prevent misalignment. Store thread guides securely when not in use to avoid loss or damage. By maintaining your thread guides, you ensure consistent stitching, reduce downtime, and extend your sewing machine’s lifespan. Proper care also helps prevent common issues like uneven tension or thread breakage.
Troubleshooting Common Threading Issues
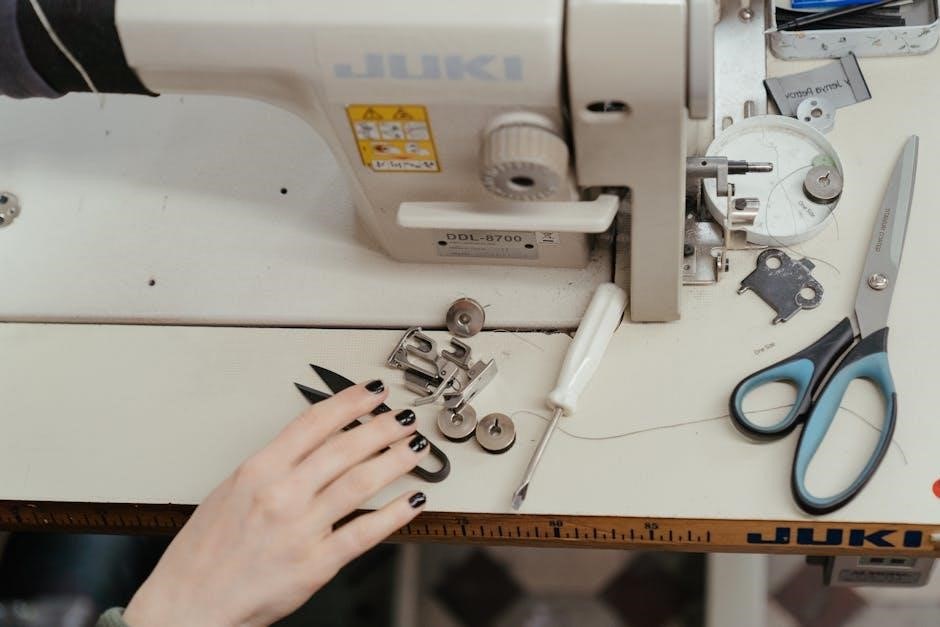
Common threading problems include thread nests, uneven tension, and misaligned guides. Check for loose threads, ensure guides are clean, and verify tension settings. Re-threading correctly often resolves issues. Always refer to your machine’s manual for specific guidance.
Identifying Common Threading Problems
Common threading issues include thread nests, uneven tension, and misaligned guides. Thread may tangle or loop incorrectly if guides are not properly positioned. Improper tension can cause loose stitches or fabric puckering. Mis-threading often results in the thread not seating correctly in the tension disc. Pay attention to signs like excessive thread breakage or noise during operation. Check if the thread is pulled too tightly or left too slack, as this can lead to inconsistent stitching. Additionally, using low-quality or incompatible thread can cause frequent breakage or lint buildup. Regularly inspect thread guides for damage or debris, as this can disrupt smooth thread flow. Addressing these issues early ensures better stitching quality and extends the machine’s lifespan. Always refer to your sewing machine manual for guidance on diagnosing specific problems.
Solutions for Typical Threading Mistakes
Correcting threading mistakes involves re-threading the machine properly. Start by turning off and unplugging the machine for safety. Remove any tangled or incorrect thread, then re-thread following the manufacturer’s guide. Use a magnifying glass to ensure the thread passes through all guides correctly. Adjust thread tension dials to the recommended settings, ensuring even pull. If the bobbin is misaligned, reinsert it according to the manual. Regularly clean the machine’s thread guides and tension discs to eliminate lint buildup. Using high-quality thread compatible with your machine reduces breakage and tangles. Test stitches on scrap fabric before sewing to confirm proper threading. Always refer to your sewing machine’s manual for specific instructions, as different models may have unique threading requirements. Addressing these issues promptly prevents further complications and ensures smooth operation.
